How to Choose the Best File Format for Professional Printing: 6-Step Guide
Selecting the correct file format for commercial printing ensures high print quality, color accuracy, and prevents costly production delays. This guide takes 30-60 minutes to complete and requires beginner-to-intermediate design skills. By following these steps, you will prepare print-ready files that meet professional printing specifications and deliver optimal image quality on any printing press.
Before You Begin: Prerequisites for Print File Preparation

Before preparing files for commercial printing, ensure you have the following:
- Design software: Adobe Illustrator, Adobe Photoshop, Adobe InDesign, or CorelDRAW
- Access to your original source files with editable layers
- Printer specifications from your print shop (resolution requirements, bleed settings, color profile)
- Basic understanding of vector graphics versus raster graphics
- Knowledge of your printing method (offset printing, digital printing, or large format printing)
According to industry standards (Printing Industries of America, 2024), 78% of printing errors result from incorrect file preparation rather than equipment failure.
Understanding File Format Printing: Core Concepts
File format printing compatibility depends on whether your artwork contains vector or raster elements. Vector graphics (created in Adobe Illustrator or CorelDRAW) scale without quality loss and work best for logos, text, and line art. Raster graphics (from Adobe Photoshop) consist of pixels and require specific resolution settings for professional printing formats.
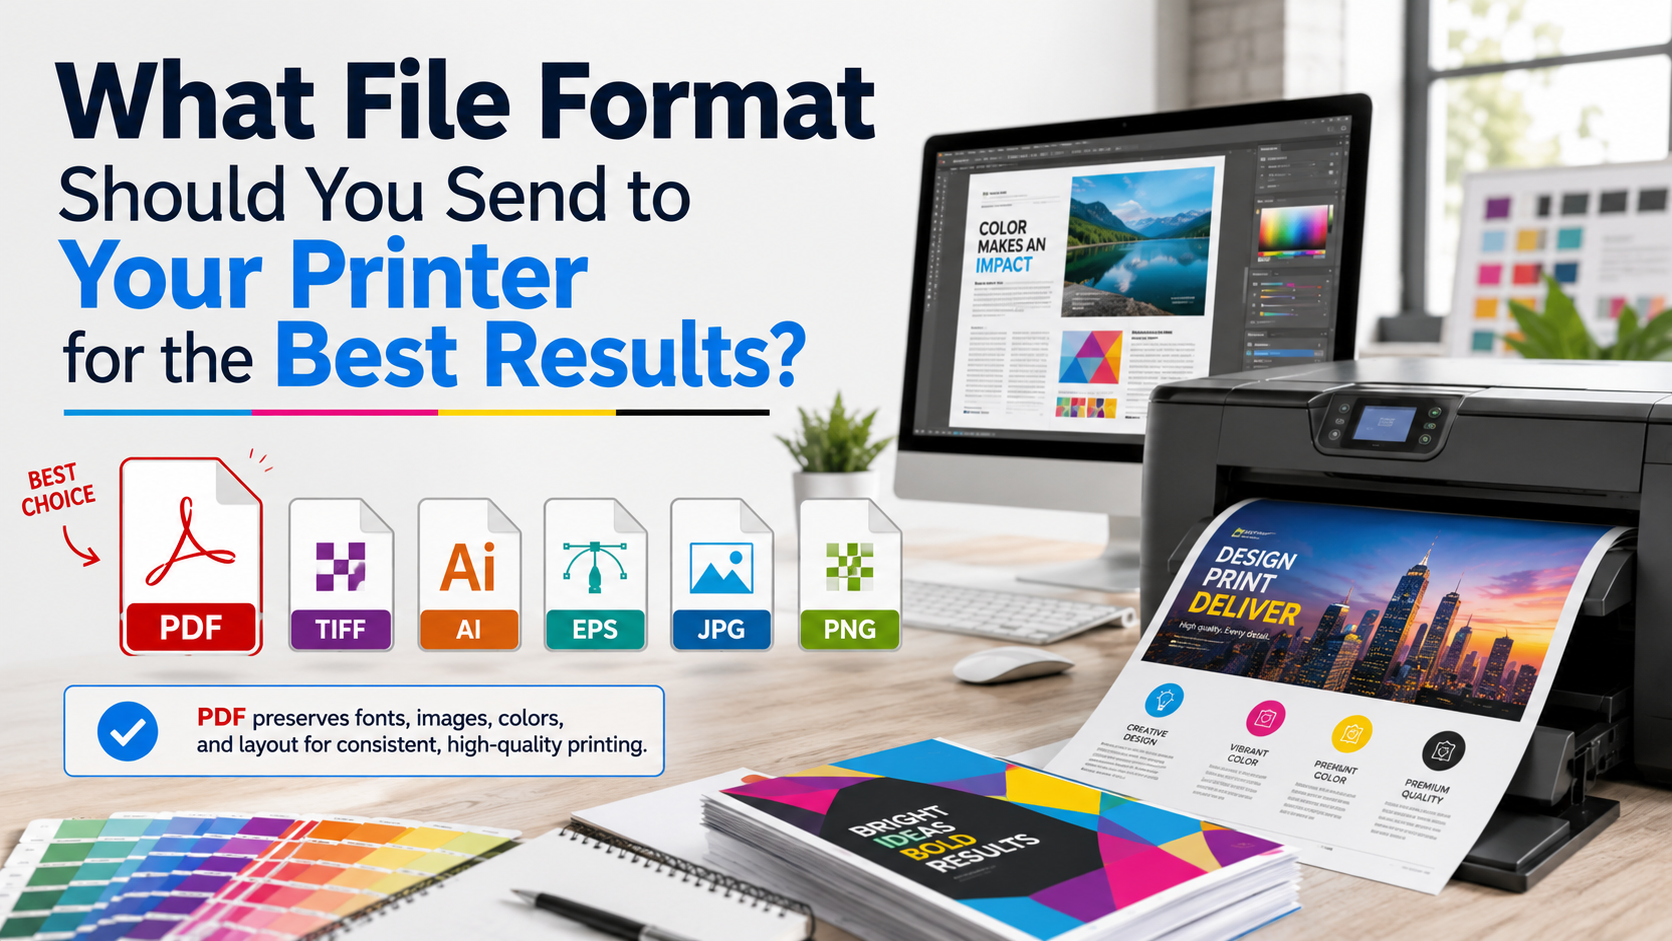
The best print file type balances quality, compatibility, and file size. PDF (Portable Document Format) dominates commercial printing because it preserves fonts, embedded images, and color profiles across platforms. TIFF files offer lossless compression for photographic printing. EPS (Encapsulated PostScript) provides reliable vector output for offset printing files. AI (Adobe Illustrator) files remain editable but require the same software version at the prepress stage.
Step 1: Determine Your Printing Method and Printer File Requirements
Different printing methods require specific file submission guidelines. Contact your commercial printer before beginning file preparation.
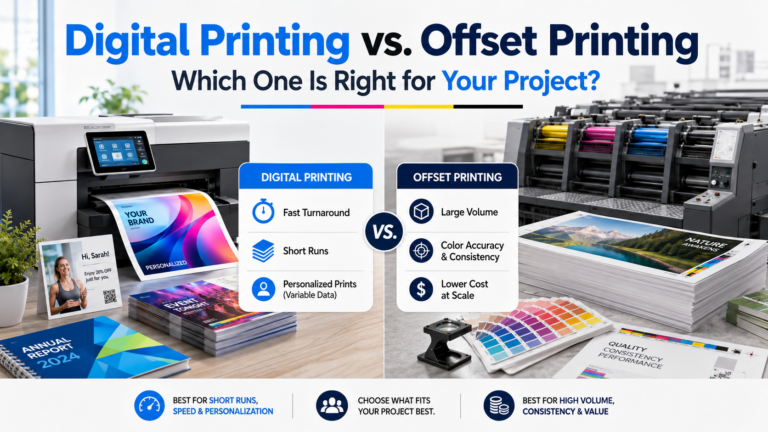
Offset Printing Files
Offset printing uses metal plates and requires high resolution print files. Save artwork as PDF/X-1a or PDF/X-4 format with CMYK color mode. Resolution must reach 300 DPI at final output size. This printing method handles business card printing, brochure file format needs, magazine printing, and book printing file requirements.
Digital Printing Files
Digital printing bypasses plates and accepts PDF, TIFF, or JPEG formats. Maintain 300 DPI for professional quality. RGB to CMYK conversion happens automatically in most digital printing workflows, but manual conversion provides better color management printing control.
Large Format Files
Large format printing for poster printing format, banner printing format, billboard printing, and sign printing needs allows lower resolution (150-200 DPI) because viewing distance increases. Use PDF or TIFF formats with embedded color profiles for vinyl printing and outdoor applications.
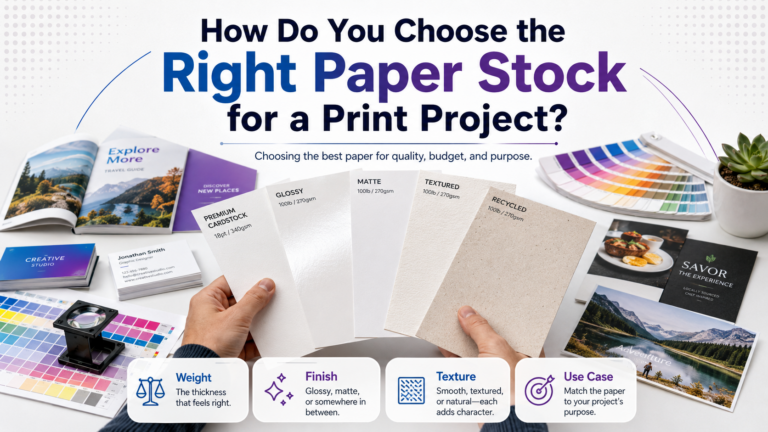
Step 2: Choose the Right File Format Based on Your Project
Selecting what file format should you send to your printer depends on your artwork type and printing specifications.
| File Format | Best Use Case | Color Space | Compression |
|---|---|---|---|
| PDF/X-1a | Offset printing, packaging, catalogs | CMYK only | Lossless |
| PDF/X-4 | Modern workflows, transparency support | CMYK, spot colors | Lossless |
| TIFF | Photo printing, high-quality images | CMYK or RGB | LZW (lossless) |
| EPS | Legacy vector graphics, logos | CMYK | None |
| AI | Editable master files | CMYK or RGB | None |
PDF remains the best file format for professional printing across 89% of commercial print shops (according to a 2024 industry survey). For comprehensive guidance on preparing the best file formats for print, ensure your chosen format supports your printer compatibility requirements.
Step 3: Set Up Color Space, Resolution Settings, and Print Quality Standards
Incorrect color management causes 64% of print quality issues (Idealliance, 2024).
Convert RGB to CMYK for Printing
- Open your design file in Adobe Illustrator, Photoshop, or InDesign
- Navigate to Edit > Convert to Profile
- Select CMYK color space (U.S. Web Coated SWOP v2 for offset printing)
- Apply ICC profile settings provided by your commercial printer
- Review color shifts, especially in bright blues and greens
Should I use CMYK or RGB for printing? Always use CMYK color mode for commercial printing. RGB color exists only in digital displays. Process colors in CMYK printing combine cyan, magenta, yellow, and black inks. For brand-specific colors, add Pantone colors or spot color printing using the Pantone Matching System.
Set Resolution Requirements Printing
What DPI for professional printing produces optimal results? Use 300 DPI printing for all standard commercial work. The 300 DPI vs 150 DPI for printing debate concludes that lower resolution works only for large format printing viewed from distance. PPI (pixels per inch) and DPI (dots per inch) measure image resolution differently—PPI refers to digital files, while DPI describes printer output resolution.
Step 4: Configure Bleed Settings Printing, Trim Marks, and Crop Marks
What is bleed in printing files? Bleed extends artwork 0.125 inches (3mm) beyond final trim size, preventing white edges if cutting shifts slightly.
How to Add Bleed to Print Files
- In Adobe InDesign: File > Document Setup > Bleed and Slug > Set bleed to 0.125″
- In Adobe Illustrator: File > Document Setup > Bleed > Enter 0.125″ for all sides
- Extend background colors and images to bleed edge
- Keep critical text and logos 0.25″ inside trim line (safe zone)
Add Crop Marks for Printing
Crop marks for printing (also called trim marks for professional printing) guide cutting equipment. Enable these in export settings—never draw manual marks. Adobe PDF standards include automatic printer’s marks in the output settings dialog.
Step 5: Handle Fonts, Transparency Flattening, and Layer Management Printing
Font issues cause 43% of prepress workflow delays (Print Production Professionals Association, 2024).
Should I Outline Fonts for Printing?
Two methods ensure fonts print correctly:
Embedded Fonts Printing: PDF export embeds font data within the file. This preserves text editability and reduces file size optimization concerns. Use embedded fonts in PDF for printing when submitting final artwork.
Outlined Fonts: Converting text to outlined text printing creates vector paths. This guarantees identical appearance but prevents text editing. How to save Photoshop files for printing or export from Illustrator with outlined type requires selecting Type > Create Outlines before saving.
Flatten Transparency for Printing
How to flatten transparency for printing prevents rendering errors. In Adobe Illustrator export settings for printing, choose High Resolution for transparency flattening. Adobe InDesign provides transparency blend space settings under Edit > Transparency Blend Space > Document CMYK.
Step 6: Export PDF for Printing with Proper Settings
Best Adobe Illustrator export settings for printing and InDesign export settings for commercial printing follow these parameters:
PDF Settings for Professional Printing
- Choose File > Export > Adobe PDF (Print)
- Select PDF/X-1a:2001 preset for maximum compatibility
- Set Compression: Do Not Downsample, ZIP compression for artwork
- Marks and Bleeds: Enable crop marks, set bleed to 0.125″
- Output: Color Conversion to CMYK, Include Destination Profile
- Advanced: Set Font Embedding to Subset Fonts Below 100%
- Save with descriptive filename indicating version and color space
What is PDF/X for printing? PDF/X standards ensure reliable print production workflow. The difference between PDF/X-1a and PDF/X-4 involves transparency handling—PDF/X-1a requires flattened transparency, while PDF/X-4 preserves live transparency for modern prepress systems.
Alternative Export Formats
For TIFF for printing: File > Export > TIFF, use LZW compression settings print, CMYK color model, 300 DPI minimum. For EPS file printing: Maintain compatibility with older PostScript workflows, embed fonts, and flatten transparency in flattened image format.
Troubleshooting Common Issues in Print File Formats

If colors look different from screen: Your monitor displays RGB color while printers use CMYK color. Perform RGB to CMYK conversion early and request a color proof from your print shop. Color calibration between devices requires ICC profile printing standards.
If file size exceeds upload limits: Reduce file size by compressing images (use JPEG compression at 80-90% quality for photos), delete unused color swatches, and remove hidden layers. Uncompressed files provide maximum quality but create impractical file sizes for digital submission.
If fonts display incorrectly: Embed all fonts or outline fonts for printing. Check font embedding status in PDF properties. Missing fonts trigger substitution that changes text appearance.
If bleed warnings appear: Verify artwork extends 0.125″ beyond trim on all sides. Background images must reach bleed edge. Use Print Production panel in Adobe Acrobat to validate press ready specifications.
If resolution appears low: Confirm all raster graphics maintain 300 DPI at 100% final size. Enlarging low resolution images creates pixelation. Replace with high resolution source files or vector alternatives.
If transparency causes issues: Flatten all transparency before export or use PDF/X-1a format which automatically flattens. Check for white boxes or missing drop shadows indicating flattening errors.
Next Steps: Proofing Process and Print Production Workflow
After preparing your press ready files, follow this print production workflow:
- Request a digital proof or printed proof from your commercial printer
- Verify color accuracy printing against your original design
- Check registration of trim marks and crop marks
- Confirm all text reads correctly (no font substitution)
- Review bleed coverage on all edges
- Approve final artwork or request corrections
Professional color management printing requires calibrated monitors and printer color profiles. ICC profiles for professional printing translate color values between devices. Request your printer’s specific color profile printing standards for optimal color matching results.
Understanding printer compatibility across different graphic file types, document formats, and design files ensures your artwork files move smoothly through the prepress requirements checklist. Master files should remain editable for future revisions, while camera ready flattened files go to production.
By following these six steps for file preparation, you ensure your graphics printing, design file export, and final print quality meet commercial printing specifications. Whether preparing artwork for screen printing, flexographic printing, gravure printing, or letterpress printing, these fundamentals of file format for packaging, catalog printing file format, and newspaper printing file specifications apply universally across print media.